DIY Guide: Installing Your Own Patio Cover Materials
If you’re a homeowner in the US looking to add a functional and stylish addition to your outdoor living space, installing your own patio cover materials is a fulfilling DIY project to undertake. Not only is it cost-effective, but it also allows you to customize the design and create a cover tailored specifically to your outdoor area.
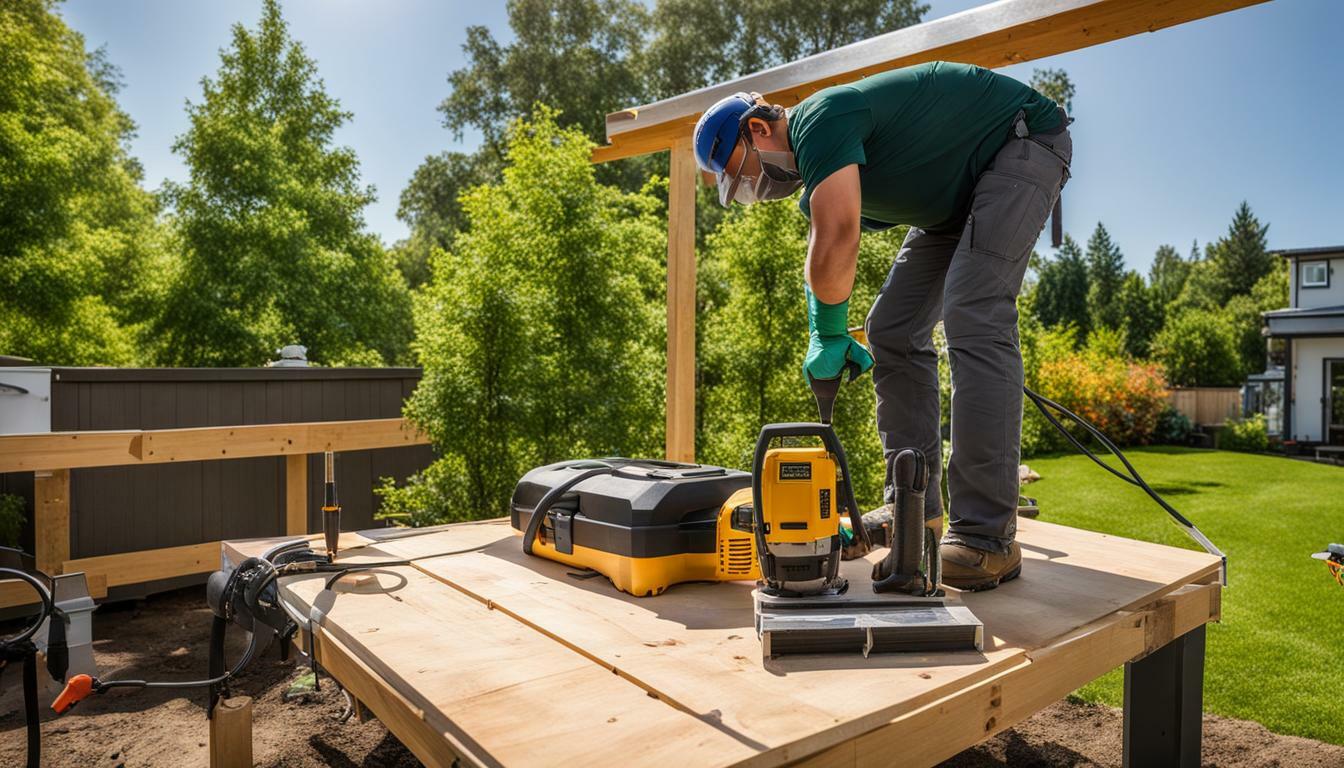
At first, you might feel a bit intimidated by the idea of taking on this task yourself, but with our comprehensive DIY cover installation guide, you’ll have all the guidance you need to complete the project with confidence. Follow our step-by-step instructions, and you’ll be enjoying a beautiful and functional patio cover in no time.
Key Takeaways
- By installing your own patio cover materials, you can save money and customize the design to fit your outdoor space.
- Our DIY cover installation guide provides step-by-step instructions to help you complete the project with confidence.
- A patio cover can enhance your outdoor living space and provide protection from the elements.
- Proper planning, design, and preparation are essential for a successful DIY installation.
- With the right tools and materials, you can install a durable and long-lasting patio cover.
Benefits of DIY Installation
Undertaking a do-it-yourself patio cover installation project can be a rewarding experience. Not only does it save you money, but it also provides a sense of accomplishment and adds a personal touch to your home’s exterior. Here are some self-installation tips to help you make the most of your DIY patio cover:
- Save money: By installing your patio cover yourself, you can save on installation costs and potentially materials as well.
- Control over the project: You have complete control over the design and execution of your patio cover project, ensuring a finished product that meets your exact specifications.
- Satisfaction of a job well done: Completing a DIY project feels fulfilling and provides a sense of pride in your work.
- Customization: You can choose the materials, colors, and design of your patio cover, creating a custom look that complements your home and personal style.
- Flexible timeline: With a DIY project, you can work on your own schedule and at your own pace, allowing you to take breaks and complete the project over multiple days or weekends.
As with any home improvement project, careful planning and preparation are key to a successful DIY patio cover installation. Consider your capabilities and the scale of your project before beginning, and don’t hesitate to seek professional help or advice if needed.
Planning and Designing Your Patio Cover
Before beginning the installation process, it’s essential to have a solid plan and design in place for your patio cover. This step will help you avoid any potential mistakes and ensure that the installation process runs smoothly.
Choosing the Right Materials
The first step in planning your patio cover is selecting the appropriate materials for your project. Some popular options include wood, aluminum, or vinyl. Each material has its own unique advantages and disadvantages, so it’s crucial to choose the best option for your needs and budget.
If you’re unsure which materials to choose, consider factors such as durability, maintenance requirements, and aesthetic appeal. Additionally, make sure that the materials you select are suitable for outdoor use, and will not be damaged by the elements.
Measuring the Space

Once you’ve chosen your materials, the next step is to measure the space where you plan to install the patio cover. Accurate measurements are essential to ensure that your patio cover will fit correctly and provide the desired amount of shade.
Begin by measuring the length and width of the area where you plan to install the patio cover. You will also need to measure the height of any existing structures, such as your house or garage, to ensure that the patio cover will not interfere with them.
Determining the Best Design
With your materials and measurements in hand, it’s time to determine the best design for your patio cover. There are several design options available, such as a gable roof, flat roof, or pergola-style cover.
When deciding on a design, consider the overall aesthetic of your outdoor space, as well as the practicality of the design. For example, a pergola-style cover may look beautiful, but it may not provide as much shade as a gable or flat roof cover.
Once you’ve chosen the best design for your patio cover, you can move on to the next step of the DIY installation process.
Section 4: Gathering Tools and Materials
Before beginning the DIY installation of your patio cover materials, it’s essential to have all the necessary tools and materials on hand. This will help ensure a smoother and more efficient installation process. Here’s a comprehensive list of the items you’ll need:
| Tools | Materials |
|---|---|
| Measuring tape | Patio cover kit |
| Level | Concrete mix or anchors |
| Power drill | Wood screws or bolts |
| Saw (depending on material) | Covering material (fabric, polycarbonate panels, or wood) |
| Safety gear (gloves, eye protection, etc.) | Paint, stain, or sealant (depending on material) |
Make sure to check the manufacturer’s instructions for any specific tools or materials that may be required for your particular patio cover kit.
Once you have all your tools and materials gathered, organize them in a space near your installation area. This will make the process more efficient and save time from running back and forth to retrieve forgotten items. With everything you need on hand, you’re ready to move on to the next step in the DIY installation of your patio cover materials.
Preparing the Installation Area

Before you begin the DIY installation of your patio cover materials, it’s essential to prepare the installation area to ensure stability and suitability. Follow these steps to get started:
- Clear the area: Remove any debris, plants, or other objects that may be obstructing the installation area. You want a clear space on which to work.
- Assess the terrain: Ensure that the ground is level and that there are no significant dips or bumps. If the area is uneven, consider leveling it by adding or removing soil. This will prevent any unnecessary stress on your patio cover, ensuring it remains stable and secure.
- Check for hazards: Look for any hazards in the area, such as underground utilities or cables. This will help prevent any accidents during the installation process.
- Measure the area: Using a measuring tape, measure the area where you will be installing the patio cover. Having accurate measurements will help you determine the size of the cover you need and ensure that it will fit properly.
- Mark the area: Use string or spray paint to mark the area where you will be installing the patio cover. This will help you visualize the final result and ensure you’re installing the cover in the correct location.
By following these steps, you’ll be able to prepare the installation area for your patio cover, ensuring it’s a stable and suitable foundation for the rest of the DIY installation process.
Installing the Patio Cover Framework
With the planning and preparation complete, it’s time to start the installation process of your patio cover materials. The framework is the skeleton of your patio cover, providing the structure that supports the covering material. Follow our step-by-step guide below to ensure a successful DIY installation.
Step 1: Secure the Posts
The first step is to secure the posts of your patio cover to the ground. Measure and mark the spots where you’ll install the posts, ensuring they’re evenly spaced. Dig holes that are approximately 2 feet deep, and place the posts in the holes. Use a level to ensure they’re straight, and add concrete mix to secure them in place. Let the concrete dry for at least 24 hours before moving on to the next step.
Step 2: Add Crossbeams
Once the posts are securely in place, it’s time to add the crossbeams that will hold up the covering material. Measure the distance between the posts and cut the crossbeams to size. Attach them to the posts using metal brackets and screws. Make sure they’re level and evenly spaced before proceeding to the next step.
Step 3: Attach Support Beams
The next step is to attach the support beams that will connect the crossbeams and provide additional support. Measure and cut the support beams to size, ensuring they’re long enough to span the entire length of the patio cover. Attach them to the crossbeams using metal brackets and screws.
Step 4: Add the Rafters
The final step is to add the rafters, which will run perpendicular to the support beams and crossbeams. Measure and cut the rafters to size and attach them to the crossbeams using metal brackets and screws. Make sure they’re spaced evenly and that the overhang is consistent on both sides of the patio cover.
Once the framework is complete, you’re one step closer to enjoying your new patio cover. In the next section, we’ll discuss the different covering materials you can use to finish the installation process.
Adding the Covering Material
Now that the framework of your patio cover is complete, it’s time to add the covering material. There are several options to choose from, including:
- Fabric
- Polycarbonate panels
- Wood
Each material has its own benefits and drawbacks, so it’s important to choose one that best fits your needs and preferences.
If you choose fabric, make sure it’s made of a durable and weather-resistant material. Canvas and polyester are popular choices for patio covers. Once you have your fabric, attach it to the top of the framework, ensuring it’s taut and secure.
If you prefer polycarbonate panels, make sure they’re UV-resistant to prevent yellowing and fading over time. Install the panels on top of the framework, overlapping them slightly and securing them with screws and washers.
For a more rustic look, you may want to consider a wooden cover. Cedar and redwood are popular choices for their durability and natural resistance to insects and decay. Install the wooden planks on top of the framework, ensuring they’re evenly spaced and securely attached.
Whichever material you choose, make sure it’s installed properly to prevent damage or collapse over time. Regular maintenance, such as cleaning and inspecting the covering, will help ensure it lasts for years to come.
Finishing Touches and Maintenance
Now that your patio cover installation is complete, it’s important to focus on the finishing touches and ongoing maintenance to ensure it stays looking beautiful and functional for years to come.
Adding a Coat of Paint or Stain
Depending on the material used for your patio cover, it may benefit from a fresh coat of paint or stain. This not only enhances the appearance but also protects it from the elements. Before applying any paint or stain, ensure the surface is clean and free of debris. Use a high-quality outdoor paint or stain for best results and follow the manufacturer’s instructions.
Cleaning and Maintenance
Regular cleaning and maintenance are essential to keep your patio cover looking its best. Use a soft-bristled brush or sponge to clean the surface, and avoid harsh chemicals or abrasive materials that may damage the material. If you live in an area with heavy rainfall, consider adding a gutter system to prevent water from pooling and causing damage.
Replacing Damaged Material
If any part of your patio cover material becomes damaged, it’s important to address it promptly to prevent further damage. Whether it’s a tear in a fabric cover or a crack in a polycarbonate panel, replacement parts are readily available and relatively easy to install. Follow the manufacturer’s instructions carefully, or seek the assistance of a professional if needed.
By following these simple tips and performing regular maintenance, your DIY-installed patio cover will provide a beautiful and functional addition to your outdoor living space for years to come.
Conclusion
Maintaining Your DIY Patio Cover
Congratulations on completing your DIY installation of patio cover materials! By following our step-by-step guide, you have successfully created an outdoor living space that is both beautiful and functional. To keep your patio cover looking great and working well for years to come, it’s important to perform regular maintenance tasks.
First, make sure to clean your patio cover regularly to prevent dirt and debris from building up. Use a soft-bristled brush or a cloth to wipe down the surface, and consider using a mild detergent or cleaning solution if necessary.
Secondly, check your patio cover frequently for signs of wear and tear, such as cracks, chips, or fading. If you notice any damage, make repairs as soon as possible to prevent further deterioration.
Lastly, consider applying a weather-resistant coating to your patio cover to protect it from the elements. This can include paint, stain, or sealant, depending on the type of material you used for your cover.
Enhancing Your Outdoor Space
Your new patio cover is the perfect addition to your outdoor living space, providing shade and protection from the elements. To enhance the area even further, consider incorporating some additional features such as outdoor furniture, lighting, or decorative elements.
You can also use your patio cover as a starting point for further DIY projects, such as building an outdoor kitchen or adding a fire pit. The possibilities are endless, so let your creativity run wild!
Thank you for choosing our DIY installation guide for patio cover materials. We hope this has been a helpful resource for you, and wish you many happy hours spent enjoying your newly enhanced outdoor space.
FAQ
Can I install a patio cover myself?
Yes, you can install a patio cover yourself. Our DIY guide provides step-by-step instructions to help homeowners in the United States successfully install their own patio cover materials.
What are the benefits of DIY installation?
There are several benefits to DIY installation. By choosing to install your own patio cover, you can save on labor costs and experience the satisfaction of completing a DIY project. Our guide also provides self-installation tips to help you achieve success.
What should I consider when planning and designing my patio cover?
When planning and designing your patio cover, it’s important to select the right materials, measure the space accurately, and determine the best design for your outdoor area. Our DIY cover installation guide will walk you through these key considerations.
What tools and materials do I need for the installation?
Before starting the installation, gather all the necessary tools and materials. Our comprehensive list will ensure you have everything you need for a successful project.
How do I prepare the installation area?
Preparing the installation area involves clearing the space and assessing any necessary adjustments for a stable foundation. Our guide will provide step-by-step instructions to help you prepare the area properly.
What is the process for installing the patio cover framework?
Installing the framework of your patio cover involves securing the posts and attaching the beams. Our DIY guide will provide detailed instructions to guide you through this crucial stage of the installation process.
How do I add the covering material to the patio cover?
Once the framework is in place, you can add the covering material to your patio cover. Our guide will discuss different options such as fabric, polycarbonate panels, or wood and provide instructions for attaching and securing them.
How can I finish and maintain my patio cover?
Finishing touches and regular maintenance are essential to ensure the durability and longevity of your patio cover. Our guide will provide tips on painting or staining the structure and regular cleaning and maintenance tasks.
Any concluding thoughts?
Congratulations on completing your DIY installation of the patio cover materials! We hope our step-by-step guide has been helpful in enhancing your outdoor living space and adding value to your home. Enjoy your new patio cover and the benefits it brings to your daily life.
- Crafting a Dream Patio with Pavers - November 26, 2023
- DIY Patio Paver Construction - November 24, 2023
- Creating Stunning Patios with Pavers - November 21, 2023